I am starting a new Rails project that would be using WordPress for CMS functionality and I needed a way to share the user sessions between WordPress and Rails. Though, I found a couple of WordPress plugins, but I decided to use Central Authentication Service (CAS). I found two server implementations, where the first one was in Java and second one was in Ruby. I had some experience with the Java based CAS server back in 2005, so I decided to use it. Here are the key installation and configuration steps for setting up the Single-Sign-On solution:
Create Rails Project
I had already installed Rails 2.3, so I created a simple project using:
rails ssoapp
Install WordPress
I downloaded latest 3.0 version of WordPress and unzipped it under ssoapp/public directory.
Configuring PHP for Apache
I decided to use Apache for hosting WordPress and Rails applications. As I was using Mac, it already had Apache installed on my machine. All, I had to do was to uncomment following line from /etc/apache2/httpd.conf file:
LoadModule php5_module libexec/apache2/libphp5.so
I then restarted Apache using
sudo /usr/sbin/apachectl restart
I created a database for wordpress and defined a username/password as follows:
 create database wp
 CREATE USER 'wp'@'localhost' IDENTIFIED BY 'wp';
 GRANT ALL ON *.* TO 'wp'@'localhost';
I specified database settings in wp-config.php as follows:
 define('DB_NAME', 'wp');

 define('DB_USER', 'wp');

 define('DB_PASSWORD', 'wp');

 define('DB_HOST', 'localhost');
and created an admin account by pointing my browser to http://localhost/wp/wp-admin/install.php.
Installing Phusion Passenger on Apache
I installed passenger gem as follows:
gem install passenger
And installed passenger module for Apache using:
passenger-install-apache2-module
I then added following lines to /etc/apache2/httpd.conf file:
 LoadModule passenger_module /Users/sbhatti/.rvm/gems/ruby-1.9.1-p378/gems/passenger-2.2.15/ext/apache2/mod_passenger.so
 PassengerRoot /Users/sbhatti/.rvm/gems/ruby-1.9.1-p378/gems/passenger-2.2.15
 PassengerRuby /Users/sbhatti/.rvm/rubies/ruby-1.9.1-p378/bin/ruby
I created a file called ssoapp.conf under /etc/apache2/users with following contents:
 <VirtualHost localhost:80>
       ServerName localhost
       DocumentRoot /Users/sbhatti/src/yoga-rails/public
       RailsEnv development
       <Directory /Users/sbhatti/src/yoga-rails/public>
          Allow from all
          Options Indexes -MultiViews
       </Directory>
       <Location /wp>
          PassengerEnabled off
          AllowOverride all
       </Location>
       <Location /cas>
          PassengerEnabled off
          AllowOverride all
       </Location>
 </VirtualHost>
Configuring SSL for Apache
I needed SSL for some functionality so I created self-signed keys and certificates a follows:
 openssl genrsa -des3 -out server.key 1024
 openssl req -new -key server.key -out server.csr
and copied those files to /etc/apache2 directory. I then modified /etc/apache2/httpd.conf by uncommenting following line:
LoadModule ssl_module libexec/apache2/mod_ssl.so
and adding
Listen 443
I then modified /etc/apache2/users/ssoapp.conf and added following contents:
 <IfModule mod_ssl.c>
   AddType application/x-x509-ca-cert .crt
   AddType application/x-pkcs7-crl .crl

   SSLProtocol all -SSLv2
   SSLPassPhraseDialog builtin
   SSLSessionCache dbm:/var/run/ssl_scache
   SSLSessionCacheTimeout 300
   SSLMutex file:/var/run/ssl_mutex
   SSLRandomSeed startup builtin
 <VirtualHost localhost:443>
       ServerName localhost
       DocumentRoot /Users/sbhatti/src/yoga-rails/public
     ServerAdmin sbhatti@peak6.com
     ErrorLog /tmp/error_log
     TransferLog /tmp/access_log
     SSLEngine on
     SSLProtocol all -SSLv2
     SSLCipherSuite ALL:!ADH:!EXPORT56:RC4+RSA:+HIGH:+MEDIUM:+LOW:+SSLv2:+EXP:+eNULL
     SSLCertificateFile /etc/apache2/server.crt
     SSLCertificateKeyFile /etc/apache2/server.key
     <Files ~ "\.(cgi|shtml|phtml|php3?)$">
       SSLOptions +StdEnvVars
     </Files>
       <Directory /Users/sbhatti/src/yoga-rails/public>
          Allow from all
          Options Indexes -MultiViews
         SSLOptions +StdEnvVars
       </Directory>
       <Location /wp>
          PassengerEnabled off
          AllowOverride all
       </Location>
       <Location /cas>
          PassengerEnabled off
          AllowOverride all
       </Location>
     SetEnvIf User-Agent ".*MSIE.*" \
     nokeepalive ssl-unclean-shutdown \
     downgrade-1.0 force-response-1.0
     CustomLog /var/log/httpd/ssl_request_log \
     "%t %h %{SSL_PROTOCOL}x %{SSL_CIPHER}x \"%r\" %b"
 </VirtualHost>
 </IfModule>
Basically, above configuration allows all HTTP and HTTPS requests be sent to my SSO rails app except /wp requests, which are sent to the WordPress.
Password Encoding
I decided to use WordPress users table (wp_users) as primary users table. WordPress by default uses PHPPass library for encrypting passwords. The latest WordPress uses combination of salt, MD5 and iterations for encrypting, but I wanted to use simple MD5 for now, so I edited ./wp-includes/pluggable.php and replaced default hash encoding to MD5 as follows:
 function wp_hash_password($password) {
    return md5($password, FALSE);
 }
I then reset the password in Mysql database as follows:
update wp_users set user_pass = md5('hello') where user_login = 'admin';
Setting CAS Server
I downloaded and unzipped CAS Server. I needed to configure CAS server to use the wp_users table for authenticating users, so I added following dependencies to the cas-server-webapp/pom.xml:
         <dependency>
                 <groupId>mysql</groupId>
                 <artifactId>mysql-connector-java</artifactId>
                 <version>5.0.5</version>
         </dependency>
         <dependency>
                 <groupId>commons-dbcp</groupId>
                 <artifactId>commons-dbcp</artifactId>
                 <version>1.4</version>
         </dependency>
         <dependency>
                 <groupId>${project.groupId}</groupId>
                 <artifactId>cas-server-support-jdbc
                 </artifactId>
                 <version>${project.version}</version>
         </dependency>
I then added following beans to the cas-server-webapp/src/main/webapp/WEB-INF/deployerConfigContext.xml:
         <bean id="md5PasswordEncoder"
                 class="org.jasig.cas.authentication.handler.DefaultPasswordEncoder">
                 <constructor-arg index="0" value="MD5" />
         </bean>
         <bean id="wpDataSource" class="org.apache.commons.dbcp.BasicDataSource">
                 <property name="driverClassName">
                         <value>com.mysql.jdbc.Driver</value>
                 </property>
                 <property name="url">
                         <value>jdbc:mysql://localhost:3306/wp
                         </value>
                 </property>
                 <property name="username">
                         <value>wp</value>
                 </property>
                 <property name="password">
                         <value>wp</value>
                 </property>
         </bean>
and removed default authentication class org.jasig.cas.authentication.handler.support.SimpleTestUsernamePasswordAuthenticationHandler and added following bean instead:
         <property name="authenticationHandlers">
                 <list>
         ...
                         <bean
                                 class="org.jasig.cas.adaptors.jdbc.SearchModeSearchDatabaseAuthenticationHandler">
                                 <property name="tableUsers">
                                         <value>wp_users</value>
                                 </property>
                                 <property name="fieldUser">
                                         <value>user_login</value>
                                 </property>
                                 <property name="fieldPassword">
                                         <value>user_pass</value>
                                 </property>
                                 <property name="dataSource" ref="wpDataSource" />
                                 <property name="passwordEncoder" ref="md5PasswordEncoder" />
                         </bean>

                 </list>
         </property>
Above bean configuration specifies MD5 for hashing passwords.
Creating WAR file for CAS-Server
I then created the CAS war file by typing:
mvn clean install
Install and Configure Tomcat
The CAS-server requires Java application server so I downloaded and installed latest Apache Tomcat. Next, I needed to setup SSL for secure login so I created another set of certificate and private key using keytool as follows:
keytool -genkey -alias ssoapp -keypass ssoapp -keystore ssoapp.ks -storepass ssoapp
I copied ssoapp.ks to the conf directory under Apache tomcat and modified conf/server.xml and added following contents:
         <Connector port="8443" protocol="HTTP/1.1" SSLEnabled="true"
                 maxThreads="150" scheme="https" secure="true" clientAuth="false"
                 sslProtocol="TLS" keystoreFile="${catalina.home}/conf/ssoapp.bin"
                 keystorePass="ssoapp" />
I then started the Apache Tomcat using:
bin/startup.sh
Configuring CAS-client for WordPress
First, I downloaded phpCAS client library and unzipped it under public directory of my Rails app. I used wpCas plugin for WordPress, which uses phpCAS library for connecting to the CAS server. I installed the plugin under wp-contents/plugins directory and logged in to WordPress as admin. I clicked the plugins link from left navigation and then activated the plugin. After activating it, I clicked the settings link from the left navigation and configured the CAS as follows:

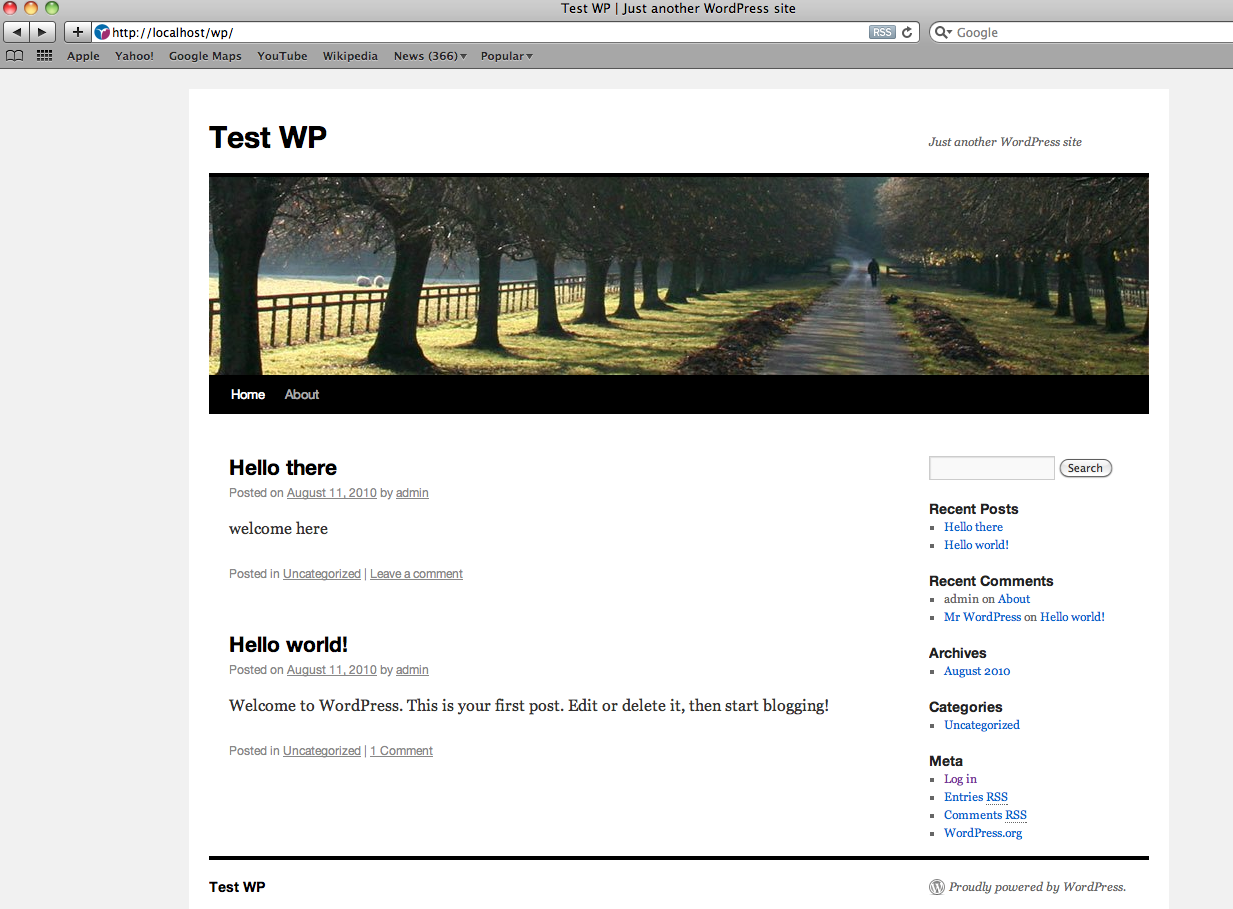
Now, the moment of truth. I opened another instance of browser and pointed to http://localhost/wp, which showed my blog.

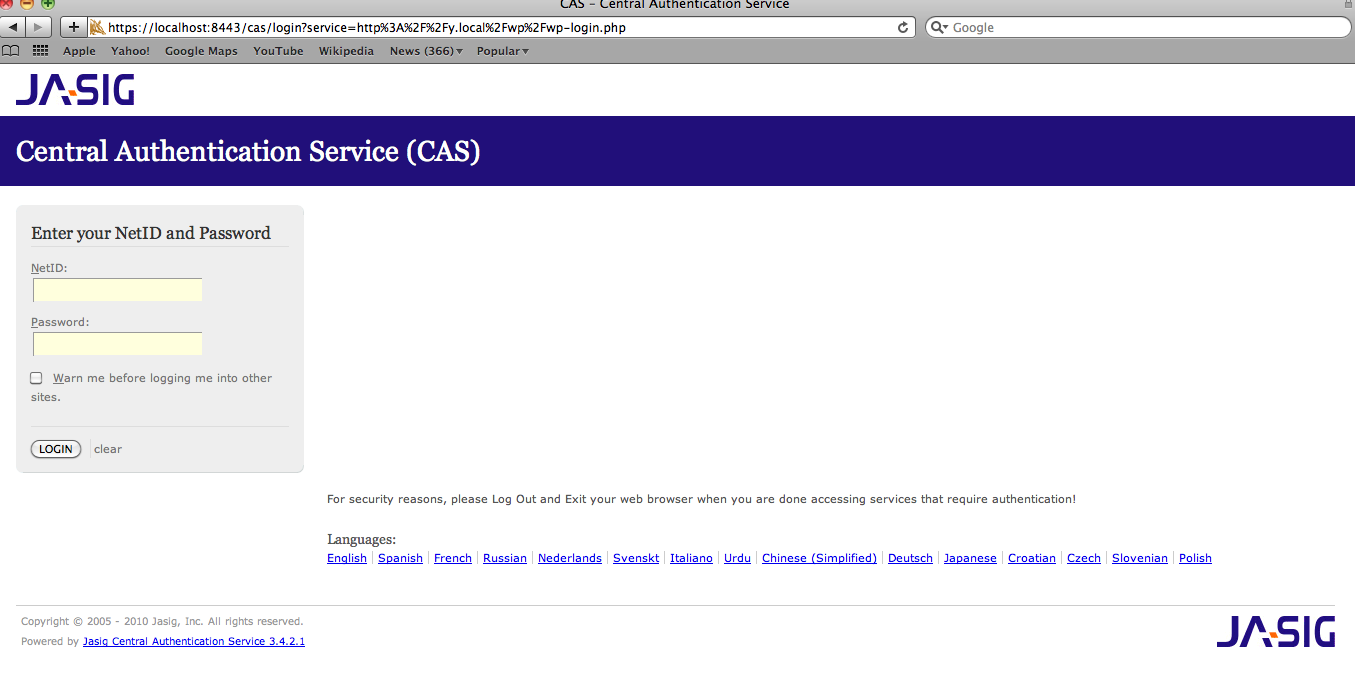
I then clicked on “Log in” link, which showed me certificate warning due to self-signed certificate. After accepting it, it took me to the CAS login page, e.g.

Voila, after typing my username and password, it took me back to the WordPress.
Setting up CAS-Client for Rails
I used rubycas-client plugin for Rails and installed it as follows:
./script/plugin install git://github.com/gunark/rubycas-client.git
I then modified config/environment.rb file and added:
   require 'casclient'
   require 'casclient/frameworks/rails/filter'
   CASClient::Frameworks::Rails::Filter.configure(
     :cas_base_url => "https://localhost:8443/cas"
   )
One gotcha in above configuration is that you have to place it at the end of configuration file as you get load error if you place it inside initializer block.
I then added before_filter CASClient::Frameworks::Rails::Filter to all controllers that needed authentication and added CASClient::Frameworks::Rails::Filter.logout(self) where I needed to logout. After changing my controller, I went back to the Rails app and sure enough it worked like a charm!
Summary
Though, there were many small pieces to get this working, but I am happy with this solution. This would help create seamless experience to the users, though the other half of the experience depends on unified user interface.
References