Shahzad Bhatti Welcome to my ramblings and rants!

August 12, 2010

Implementing a Single Sign-on solution for WordPress (PHP) and Rails applications using Central Authentication Service (CAS)

Filed under: SSO — admin @ 2:36 pm

I am starting a new Rails project that would be using WordPress for CMS functionality and I needed a way to share the user sessions between WordPress and Rails. Though, I found a couple of WordPress plugins, but I decided to use Central Authentication Service (CAS). I found two server implementations, where the first one was in Java and second one was in Ruby. I had some experience with the Java based CAS server back in 2005, so I decided to use it. Here are the key installation and configuration steps for setting up the Single-Sign-On solution:

Create Rails Project

I had already installed Rails 2.3, so I created a simple project using:

 rails ssoapp
 

Install WordPress

I downloaded latest 3.0 version of WordPress and unzipped it under ssoapp/public directory.

Configuring PHP for Apache

I decided to use Apache for hosting WordPress and Rails applications. As I was using Mac, it already had Apache installed on my machine. All, I had to do was to uncomment following line from /etc/apache2/httpd.conf file:

 LoadModule php5_module        libexec/apache2/libphp5.so
 

I then restarted Apache using

 sudo /usr/sbin/apachectl restart
 

I created a database for wordpress and defined a username/password as follows:

 create database wp
 CREATE USER 'wp'@'localhost' IDENTIFIED BY 'wp';
 GRANT ALL ON *.* TO 'wp'@'localhost';
 

I specified database settings in wp-config.php as follows:

 define('DB_NAME', 'wp');
 
 define('DB_USER', 'wp');
 
 define('DB_PASSWORD', 'wp');
 
 define('DB_HOST', 'localhost');
 

and created an admin account by pointing my browser to http://localhost/wp/wp-admin/install.php.

Installing Phusion Passenger on Apache

I installed passenger gem as follows:

 gem install passenger
 

And installed passenger module for Apache using:

 passenger-install-apache2-module
 

I then added following lines to /etc/apache2/httpd.conf file:

 LoadModule passenger_module /Users/sbhatti/.rvm/gems/ruby-1.9.1-p378/gems/passenger-2.2.15/ext/apache2/mod_passenger.so                                                                                                                                                                                          
 PassengerRoot /Users/sbhatti/.rvm/gems/ruby-1.9.1-p378/gems/passenger-2.2.15
 PassengerRuby /Users/sbhatti/.rvm/rubies/ruby-1.9.1-p378/bin/ruby
 

I created a file called ssoapp.conf under /etc/apache2/users with following contents:

 <VirtualHost localhost:80>
       ServerName localhost
       DocumentRoot /Users/sbhatti/src/yoga-rails/public
       RailsEnv development
       <Directory /Users/sbhatti/src/yoga-rails/public>
          Allow from all
          Options Indexes -MultiViews
       </Directory>
       <Location /wp>
          PassengerEnabled off 
          AllowOverride all 
       </Location>
       <Location /cas>
          PassengerEnabled off 
          AllowOverride all 
       </Location>
 </VirtualHost>
 

Configuring SSL for Apache

I needed SSL for some functionality so I created self-signed keys and certificates a follows:

 openssl genrsa -des3 -out server.key 1024
 openssl req -new -key server.key -out server.csr 
 

and copied those files to /etc/apache2 directory. I then modified /etc/apache2/httpd.conf by uncommenting following line:

 LoadModule ssl_module libexec/apache2/mod_ssl.so
 

and adding

 Listen 443
 

I then modified /etc/apache2/users/ssoapp.conf and added following contents:

 <IfModule mod_ssl.c>
   AddType application/x-x509-ca-cert .crt
   AddType application/x-pkcs7-crl .crl
 
   SSLProtocol all -SSLv2
   SSLPassPhraseDialog builtin
   SSLSessionCache dbm:/var/run/ssl_scache
   SSLSessionCacheTimeout 300
   SSLMutex file:/var/run/ssl_mutex
   SSLRandomSeed startup builtin
 <VirtualHost localhost:443>
       ServerName localhost
       DocumentRoot /Users/sbhatti/src/yoga-rails/public
     ServerAdmin sbhatti@peak6.com
     ErrorLog /tmp/error_log
     TransferLog /tmp/access_log
     SSLEngine on
     SSLProtocol all -SSLv2
     SSLCipherSuite ALL:!ADH:!EXPORT56:RC4+RSA:+HIGH:+MEDIUM:+LOW:+SSLv2:+EXP:+eNULL
     SSLCertificateFile /etc/apache2/server.crt
     SSLCertificateKeyFile /etc/apache2/server.key
     <Files ~ "\.(cgi|shtml|phtml|php3?)$">
       SSLOptions +StdEnvVars
     </Files>
       <Directory /Users/sbhatti/src/yoga-rails/public>
          Allow from all
          Options Indexes -MultiViews
         SSLOptions +StdEnvVars
       </Directory>
       <Location /wp>
          PassengerEnabled off
          AllowOverride all
       </Location>                                                                                                                                                                                                                                                                                                          
       <Location /cas>
          PassengerEnabled off 
          AllowOverride all 
       </Location>
     SetEnvIf User-Agent ".*MSIE.*" \
     nokeepalive ssl-unclean-shutdown \
     downgrade-1.0 force-response-1.0
     CustomLog /var/log/httpd/ssl_request_log \
     "%t %h %{SSL_PROTOCOL}x %{SSL_CIPHER}x \"%r\" %b"
 </VirtualHost>
 </IfModule>
 

Basically, above configuration allows all HTTP and HTTPS requests be sent to my SSO rails app except /wp requests, which are sent to the WordPress.

Password Encoding

I decided to use WordPress users table (wp_users) as primary users table. WordPress by default uses PHPPass library for encrypting passwords. The latest WordPress uses combination of salt, MD5 and iterations for encrypting, but I wanted to use simple MD5 for now, so I edited ./wp-includes/pluggable.php and replaced default hash encoding to MD5 as follows:

 function wp_hash_password($password) {
    return md5($password, FALSE);
 }
 

I then reset the password in Mysql database as follows:

 update wp_users set user_pass = md5('hello') where user_login = 'admin';
 

Setting CAS Server

I downloaded and unzipped CAS Server. I needed to configure CAS server to use the wp_users table for authenticating users, so I added following dependencies to the cas-server-webapp/pom.xml:

         <dependency>
                 <groupId>mysql</groupId>
                 <artifactId>mysql-connector-java</artifactId>
                 <version>5.0.5</version>
         </dependency>
         <dependency>
                 <groupId>commons-dbcp</groupId>
                 <artifactId>commons-dbcp</artifactId>
                 <version>1.4</version>
         </dependency>
         <dependency>
                 <groupId>${project.groupId}</groupId>
                 <artifactId>cas-server-support-jdbc
                 </artifactId>
                 <version>${project.version}</version>
         </dependency>
 

I then added following beans to the cas-server-webapp/src/main/webapp/WEB-INF/deployerConfigContext.xml:

         <bean id="md5PasswordEncoder"
                 class="org.jasig.cas.authentication.handler.DefaultPasswordEncoder">
                 <constructor-arg index="0" value="MD5" />
         </bean>
         <bean id="wpDataSource" class="org.apache.commons.dbcp.BasicDataSource">
                 <property name="driverClassName">
                         <value>com.mysql.jdbc.Driver</value>
                 </property>
                 <property name="url">
                         <value>jdbc:mysql://localhost:3306/wp
                         </value>
                 </property>
                 <property name="username">
                         <value>wp</value>
                 </property>
                 <property name="password">
                         <value>wp</value>
                 </property>
         </bean>
 

and removed default authentication class org.jasig.cas.authentication.handler.support.SimpleTestUsernamePasswordAuthenticationHandler and added following bean instead:

         <property name="authenticationHandlers">
                 <list>
         ...
                         <bean
                                 class="org.jasig.cas.adaptors.jdbc.SearchModeSearchDatabaseAuthenticationHandler">
                                 <property name="tableUsers">
                                         <value>wp_users</value>
                                 </property>
                                 <property name="fieldUser">
                                         <value>user_login</value>
                                 </property>
                                 <property name="fieldPassword">
                                         <value>user_pass</value>
                                 </property>
                                 <property name="dataSource" ref="wpDataSource" />
                                 <property name="passwordEncoder" ref="md5PasswordEncoder" />
                         </bean>
 
                 </list>
         </property>
 

Above bean configuration specifies MD5 for hashing passwords.

Creating WAR file for CAS-Server

I then created the CAS war file by typing:

 mvn clean install
 

Install and Configure Tomcat

The CAS-server requires Java application server so I downloaded and installed latest Apache Tomcat. Next, I needed to setup SSL for secure login so I created another set of certificate and private key using keytool as follows:

 keytool -genkey -alias ssoapp -keypass ssoapp -keystore ssoapp.ks -storepass ssoapp
 

I copied ssoapp.ks to the conf directory under Apache tomcat and modified conf/server.xml and added following contents:

         <Connector port="8443" protocol="HTTP/1.1" SSLEnabled="true"
                 maxThreads="150" scheme="https" secure="true" clientAuth="false"
                 sslProtocol="TLS" keystoreFile="${catalina.home}/conf/ssoapp.bin"
                 keystorePass="ssoapp" />
 

I then started the Apache Tomcat using:

 bin/startup.sh 
 

Configuring CAS-client for WordPress

First, I downloaded phpCAS client library and unzipped it under public directory of my Rails app. I used wpCas plugin for WordPress, which uses phpCAS library for connecting to the CAS server. I installed the plugin under wp-contents/plugins directory and logged in to WordPress as admin. I clicked the plugins link from left navigation and then activated the plugin. After activating it, I clicked the settings link from the left navigation and configured the CAS as follows:

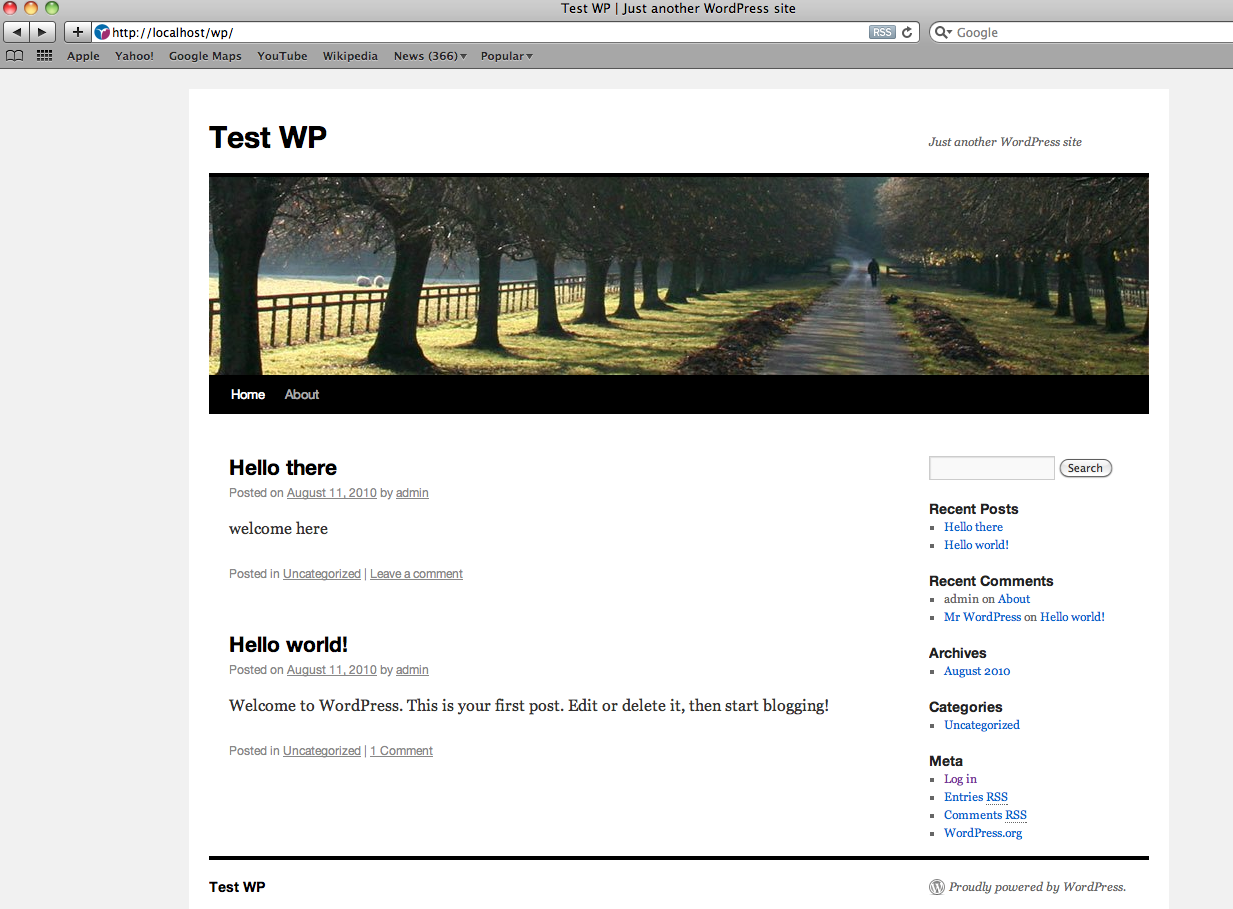
Now, the moment of truth. I opened another instance of browser and pointed to http://localhost/wp, which showed my blog.

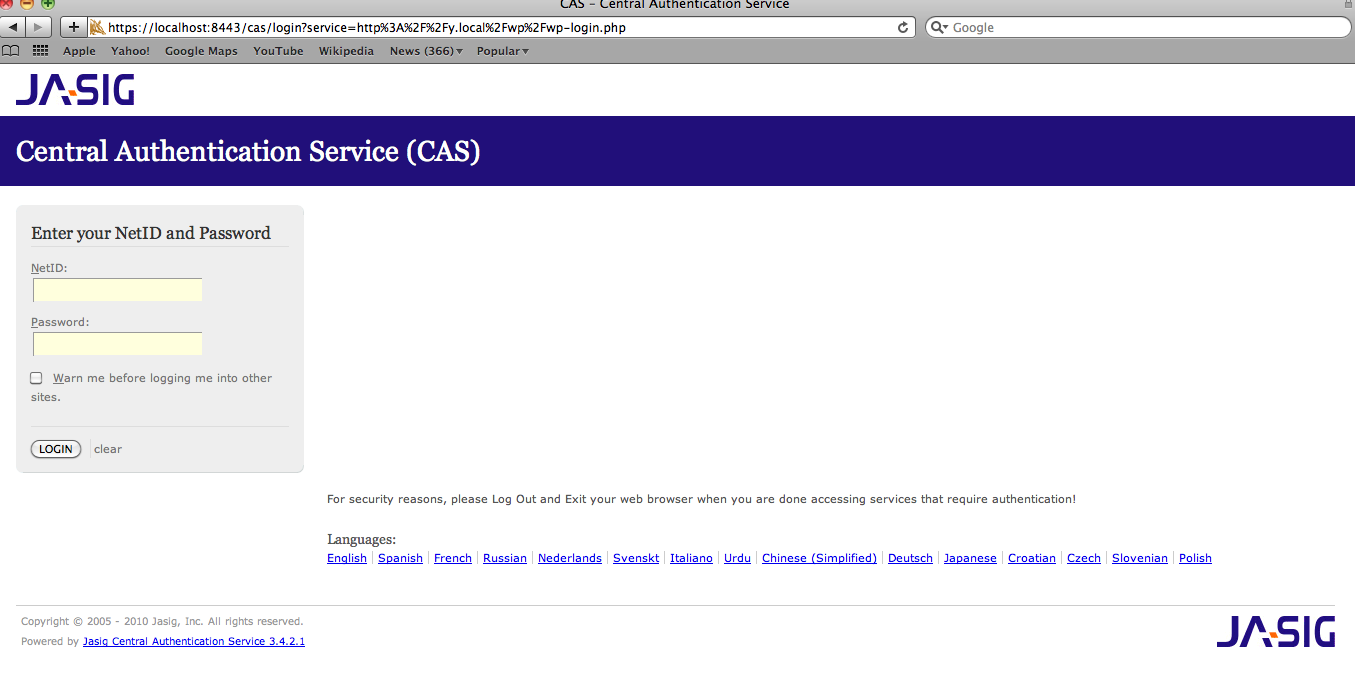
I then clicked on “Log in” link, which showed me certificate warning due to self-signed certificate. After accepting it, it took me to the CAS login page, e.g.

Voila, after typing my username and password, it took me back to the WordPress.

Setting up CAS-Client for Rails

I used rubycas-client plugin for Rails and installed it as follows:

   ./script/plugin install git://github.com/gunark/rubycas-client.git
 

I then modified config/environment.rb file and added:

   require 'casclient'
   require 'casclient/frameworks/rails/filter'                                                                                                                                                                                                                                                                              
   CASClient::Frameworks::Rails::Filter.configure(
     :cas_base_url => "https://localhost:8443/cas"
   )
 

One gotcha in above configuration is that you have to place it at the end of configuration file as you get load error if you place it inside initializer block.
I then added before_filter CASClient::Frameworks::Rails::Filter to all controllers that needed authentication and added CASClient::Frameworks::Rails::Filter.logout(self) where I needed to logout. After changing my controller, I went back to the Rails app and sure enough it worked like a charm!

Summary

Though, there were many small pieces to get this working, but I am happy with this solution. This would help create seamless experience to the users, though the other half of the experience depends on unified user interface.

References


August 10, 2010

NoSql databases bring “Stored Procedures” back in fashion

Filed under: Business — admin @ 5:26 pm

One of best tip I learned from my post-graduate research in Parallel & Distributed area was to bring the computation closer to the data. However, most applications in the real world are designed as three or more tiers that separate databases from the application server, where the business logic resides. Though, stored procedures have long been used in client server architecture, dataware services, reporting, and other forms to run the business logic closer to the database, but they are generally shunned due to the maintenance issues. I find it interesting that NoSQL databases are bringing back the stored procedures in the form of map/reduce queries. NoSQL databases come in various forms such as key-value stores, document stores, column stores, and graph stores. They are primarily influenced by the Brewer’s CAP Theorem and use BASE (basically available, soft state, eventually consistent) transactions as opposed to ACID (atomicity, consistency, isolation, durability) transactions. NoSQL databases are designed for horizontal scalability and are able to support large data by partitioning it. NoSQL offer rich queries based on map/reduce, which are generally written in javascript or other scripting languages. These queries provide powerful mechanism to define the business logic for filtering or aggregating results, which are then executed inside the database or closer to the data. Thus, NoSQL databases are able to provide much better performance as a side effect if the application logic is transferred to the host where the data resides. Everything old is new again and stored procedures are back in the fashion.

References:


August 5, 2010

Implementing Apple Remote Push Notification using Objective-C and Ruby

Filed under: iPhone development — admin @ 3:44 pm

Recently, I added the remote push capabilities to an iPhone/iPad application at work. It turned out to be a bit more involved process than I expected so I would document key steps of the process.

Overview of Remote Push Notification

The Apple Push Notification works like SMS, where the application providers can send short messages to the users (upto 256 bytes). The message consists of JSON structure as follows:

 { 
   "aps" : {  "alert" : "your-message", "sound" : "filename" : "badge" : 5,     },     
   // optionally more structures, e.g. {"acme1" : "bar"}
 }
 

The alert key defines the contents of the message, which is displayed to the user. You can play sound by specifying the sound filename (which is already bundled with the app), however you can leave it blank or use ‘default’ for playing default sound. Finally, the badge will allow notification to show a number next to your application icon. Also, you can optionally add action buttons that can take user to a particular screen in your application (though I won’t show it here).

The format for sending notification is as follows:

You can read Apple documentation for more inforamtion on the binary format.

The architecture of Push Notification consists of three key pieces:

  • iOS Application – that enables push notification and registers the device for notification
  • Application Server – is responsible for generating the messages and publishing them to the Apple Push Notification Service (APNS)
  • Apple Push Notification Service (APNS) – is responsible for delivering the messages to the devices where the application is installed

Here is the architecture diagram from Apple documentation on Push Notification:

Enabling Push Notification for the application

I assume you have already created an application with developer certificate, app-id and provisioning profile. However, Apple Push Notification requires another set of certificates for development and production. So, login to the iPhone developer site and select iPhone Provisioning Portal from the upper right side and then choose App IDs link.

Select “Enable for Apple Push Notification service” checkbox, then click on Configure link:

It will guide you through creating certificate, where you will have to create a certificate request by opening “Keychain Access”, then selecting “Certificate Assistant” option from the menu and choosing “Request a Certificate from Certificate Authority”. You can then upload the generated request file to the portal. Once the certificate is generated you should see the option to download the certificate, e.g.

After downloading the certificate, you can double click or drag it to the “Keychain Access” and it will add the certificate to the Keychain.

Publishing Push Notifications on the Application Server

The push notification requires a server that connects to the APNS service and sends notification messages. You will need to use same set of keys and certificates that you created on the Apple development portal. So open “Keychain Access” and select Keys from the left options, then select the private key for the push notification. You can then export the key by right clicking, which will create a file with .12 file extension. Note that it will ask you for a password for encrypting the key (type in anything as we will remove it later). Next, select “My Certificates” from the left options and select the certificate for push notification. Then repeat the process of exporting by right clicking and saving the certificate. You will see two files with .12 extensions, which can be converted into .pem files as follows:

 openssl pkcs12 -clcerts -nokeys -out apns_cert.pem -in 
 openssl pkcs12 -nocerts -out apns_key.pem -in 
 

You can remove password with the the following command:

 openssl rsa -in apns_key.pem -out apns_key_unenc.pem 
 

Then merge two files with following command:

 cat apns_cert.pem apns_key_unenc.pem > apns.pem
 

I used Rails on the server side, so I defined a few models and controllers to store devices and messages, where the device model had an attribute ‘token’ and the message model had three attributes: alert, badge and sound. Each device also has an attribute deactivated_at, which is set to the date when the device is disabled. Next, I created a short Ruby library for sending notifications. The library provides two methods send_message for sending notifications and get_feedbacks for checking disabled devices so that you can remove them from your database. The send_message method accepts a message model as an argument and then opens a connection to the APNS service. Apple recommends using a single connection for publishing notifications to all devices, so it adds all devices within a single a connection.

 require 'socket'                                                                                                                                                                                                                                                                                                           
 require 'openssl'
 
 class ApnsPublisher
   def self.send_message(apns_message)
     json_payload =  {"aps" => {"alert" => apns_message.alert, "sound" => apns_message.sound, "badge" => apns_message.badge}}.to_json.to_s
 
     open_connection(APNS_SERVER, 2195) do |conn, sock|
       ApnsDevice.find_in_batches(:batch_size => 500 ) do |devices| 
         devices.each do |device|
           next unless device.deactivated_at.nil?
           unless ApnsDevicesMessage.find_by_apns_device_id_and_apns_message_id(device.id, apns_message.id)
             token = device.token.gsub(/\s+/,'')
             byte_token = [token].pack("H*")
             message = "\0\0 #{byte_token}\0#{json_payload.length.chr}#{json_payload}"                                                                                                                                                                                                                                      
             raise "message #{message} is too big" if message.size.to_i > 256 
             conn.write(message)
             f.write(message)
             ApnsDevicesMessage.create(:apns_device_id => device.id, :apns_message_id => apns_message.id, :delivered_at => Time.new.utc)
           end                                                                                                                                                                                                                                                                                                              
         end 
       end 
     end 
   end 
 
   def self.get_feedbacks()
     open_connection(APNS_FEEDBACK_SERVER, 2196) do |conn, sock|
       while line = sock.gets
         line.strip!
         feedback = line.unpack('N1n1H140')
         token = feedback[2].scan(/.{0,8}/).join('').strip
         device = ApnsDevice.find_by_token(token)
         if device
           device.update_attribute(deactivated_at, Time.at(feedback[0])
         end 
       end 
     end 
   end 
 private
   def self.open_connection(host, port, passphrase='')
     cert = File.read(APNS_CERT_FILE)
     ctx = OpenSSL::SSL::SSLContext.new
     ctx.key = OpenSSL::PKey::RSA.new(cert, passphrase)
     ctx.cert = OpenSSL::X509::Certificate.new(cert)
   
     sock = TCPSocket.new(host, port)
     ssl = OpenSSL::SSL::SSLSocket.new(sock, ctx)
     ssl.sync = true
     ssl.connect
     yield ssl, sock 
   
     ssl.close
     sock.close
   end 
 end
 

You can use delayed_job plugin to run the get_feedbacks method periodically. Also, I added a service for registering and adding the devices, which is called from the iPhone devices (but not shown here).

Configuration

You will need to define following properties for development:

 APNS_SERVER = "gateway.sandbox.push.apple.com"
 APNS_FEEDBACK_SERVER = "feedback.sandbox.push.apple.com"
 APNS_CERT_FILE = File.join(RAILS_ROOT, 'config', 'apns_dev.pem')
 

and following properties for production:

 APNS_SERVER = "gateway.push.apple.com"
 APNS_FEEDBACK_SERVER = "feedback.push.apple.com"
 APNS_CERT_FILE = File.join(RAILS_ROOT, 'config', 'apns_prod.pem')
 

Registering devices for notification

You can register the device by adding following method in your didFinishLaunchingWithOptions of the primary delegate class:

 
         [[UIApplication sharedApplication] 
                 registerForRemoteNotificationTypes:( UIRemoteNotificationTypeAlert |UIRemoteNotificationTypeBadge | UIRemoteNotificationTypeSound)];


and then registering with following callback methods:

 #pragma mark push notifications
 - (void)application:(UIApplication *)app didRegisterForRemoteNotificationsWithDeviceToken:(NSData *)devToken {
         NSString *token = [[devToken description] stringByTrimmingCharactersInSet:[NSCharacterSet characterSetWithCharactersInString:@"<> "]];
         token = [token stringByReplacingOccurrencesOfString:@" " withString:@""];
         DeviceRegisterer *registrar = [[DeviceRegisterer alloc] init];
         [registrar registerDeviceWithToken:token];
 }
 
 
 - (void)application:(UIApplication *)app didFailToRegisterForRemoteNotificationsWithError:(NSError *)err {
         NSLog(@"failed to regiser %@", err);
 }
 
 - (void)application:(UIApplication *)application didReceiveRemoteNotification:(NSDictionary *)userInfo {
         NSLog(@"notification options %@", userInfo);
 }


I used ASIHTTPRequest library for invoking REST service I wrote for registering devices (on Rails side), e.g.

DeviceRegisterer.h

 @class ASIFormDataRequest;                                                                                                                                                                                                                                                                                                 
 
 
 @interface DeviceRegisterer : NSObject {
         ASIFormDataRequest *request;
 
 }
 
 @property (retain, nonatomic) ASIFormDataRequest *request;
 
 - (void)registerDeviceWithToken:(NSString *)token;
 
 @end
 

DeviceRegisterer.m

 
 #import "DeviceRegisterer.h"
 
 #import "ASIFormDataRequest.h"
 
 @implementation DeviceRegisterer
 @synthesize request;
 
 - (void)registerDeviceWithToken:(NSString *)token {
         if (self.request == nil) {
                 NSURL *url = [NSURL URLWithString:[NSString stringWithFormat:@"%@/admin/apns_devices.json", API_BASE_DOMAIN]];
                 [self setRequest:[ASIFormDataRequest requestWithURL:url]];
                 [request setPostValue:token forKey:@"token"];
 
                 [request setTimeOutSeconds:30];
                 [request setDelegate:self]; 
                 [request setDidFailSelector:@selector(registerFailed:)];
                 [request setDidFinishSelector:@selector(registerFinished:)];
                 
                 [request startAsynchronous];            
         }
 }
 
 
 - (void)registerFailed:(ASIHTTPRequest *)theRequest {
         NSLog(@"registerFailed %@", [theRequest error]);
 }
 
 - (void)registerFinished:(ASIHTTPRequest *)theRequest {
         NSLog(@"registerFinished %d",[theRequest postLength]);
 }
 
 - (void)dealloc {
         [request cancel];
         [request release];
         [super dealloc];
 }
 
 @end
 

Summary

In nutshell, push notification is powerful feature that can help your users engage with your application, though it must be used with caution so that users are not annoyed and in turn remove your application or disable it. It also requires a lot of moving parts for sending notification, registering, getting feedback on the devices. I found that Apple does not provide a great debugging options when testing the push notification. For example, first problem I encoutered with testing was that my profile on XCode was old and wasn’t updated after I enabled push notification. I had to delete my old profile and then refresh it from the Organizer. Also, when you send notifications to the APNS, you don’t get any response code or errors. This caused some frustration when I wasn’t getting messages due to slightly wrong JSON format. Fortunately, when your device is connected you can select the device from the XCode Organizer and view the Console tab for debugging information. I was able to view the error (which a bit vague) and then got everything working after fixing the JSON structure.


Powered by WordPress