Introduction
The Trading Floor is a social game based on auction-styled stock trading where you trade virtual stocks and options with your friends and family. Each game lasts for a day, where you join a game as a stock broker with objective of buying stocks at low-price and selling at high-price, thus making most money from the trades. Unlike a real-world stock market, each game is limited to a single exchange, which can be public or private. In addition to trading, the Trading Floor brings a lot social aspects to the game such as building private exchanges, which can be only joined by your friends and expressing like-ability for a company, which determines a Buzz for the company. Also, the members can view activities for other players in a game, view their gain/loss from the trading, view ranking of the players in terms of gain/loss and comment on their trades. At the end of a game, the top players for each game are awarded badges, which are permanently visible from their profile.
Getting Started
You can download Trading Floor from Apple AppStore.
| iPad | iPhone |
|---|---|
|

|
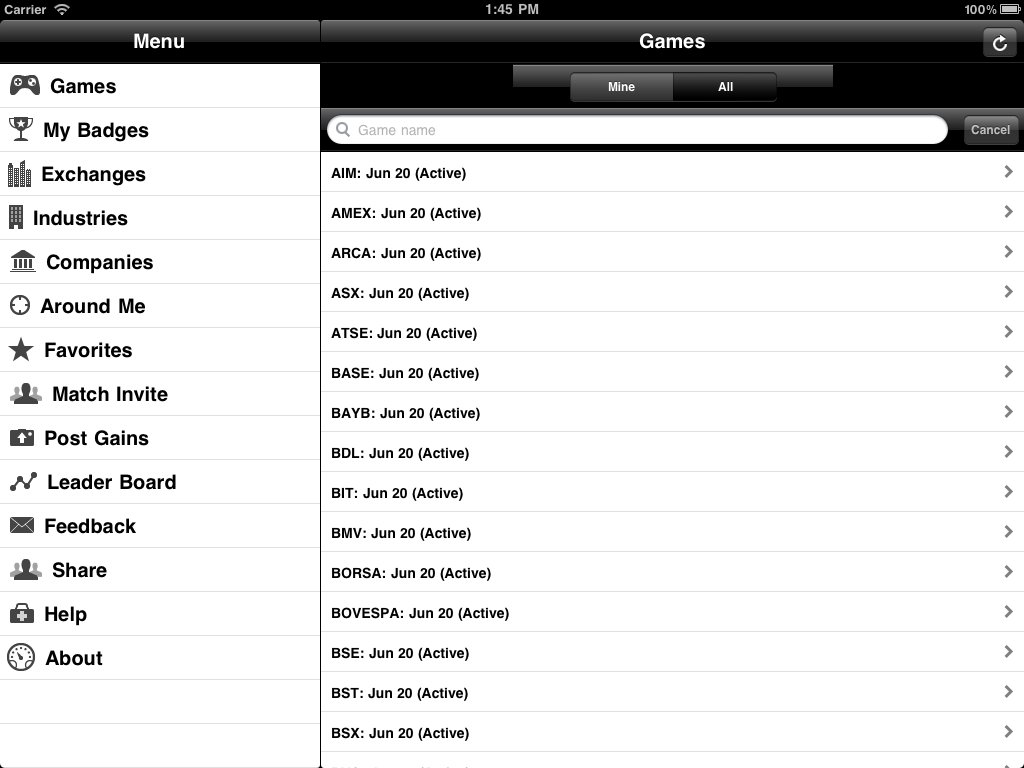
You would see listing o active games that you can join. A game is started for each exchange in the system which can be public or privately created by the users.
Joining a game
When you click on games, you would see listing of all games such as:

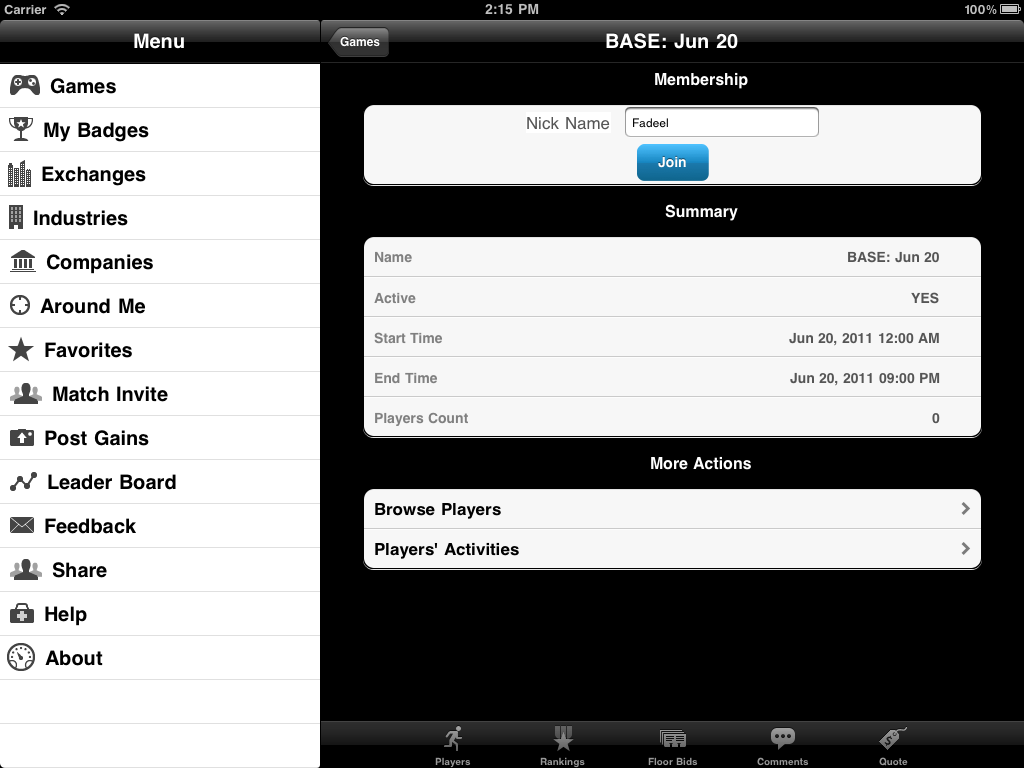
From there you can select the game that you wish to join and you would be prompted to enter a nick name that you can use to join the game such as:
| iPad | iPhone |
|---|---|
|

|
If an exchange is private, you would require a password to join and would need to contact the owner of the exchange. After clicking the Join button the Trading Floor would allocate a virtual cash of $10,000 to you and would create a portfolio with stocks and options for ten companies, where five of the companies are chosen from your favorite companies and five companies are randomly chosen. It takes about a minute to populate all the portfolio and then you can start trading. After joining the game you can also browse other players, view activities, portfolio, capital gains, orders and badges. There are also buttons below to quickly select between players, view rankings, floor bids, comments and lookup quotes, e.g.
| iPad | iPhone |
|---|---|

|

|
Browsing Players
You can see list of players that have joined the game by touching “Browse Players” option, e.g.
| iPad | iPhone |
|---|---|

|

|
When you select the player, you will see more details about the player and view activities, orders, portfolio, capital gains, badges, etc. as displayed above.
Selling Stocks/Options from Portfolio
When you select “Portfolio” option, you would see summary of your available cash and list of all stocks/options you hold such as:
| iPad | iPhone |
|---|---|

|

|
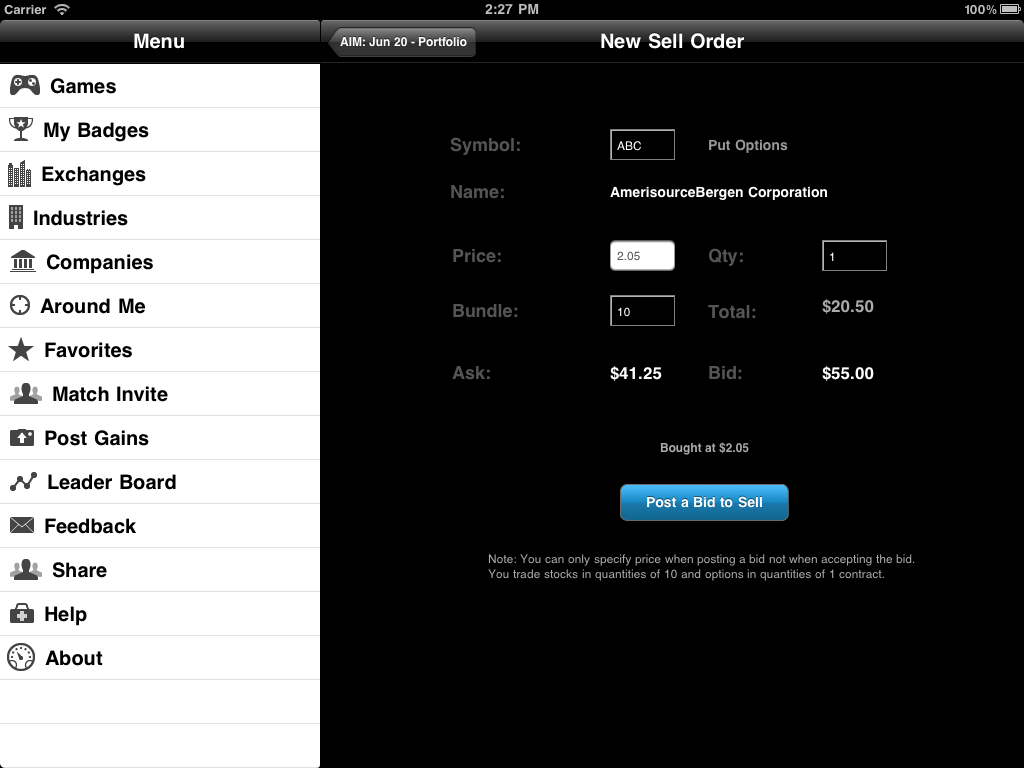
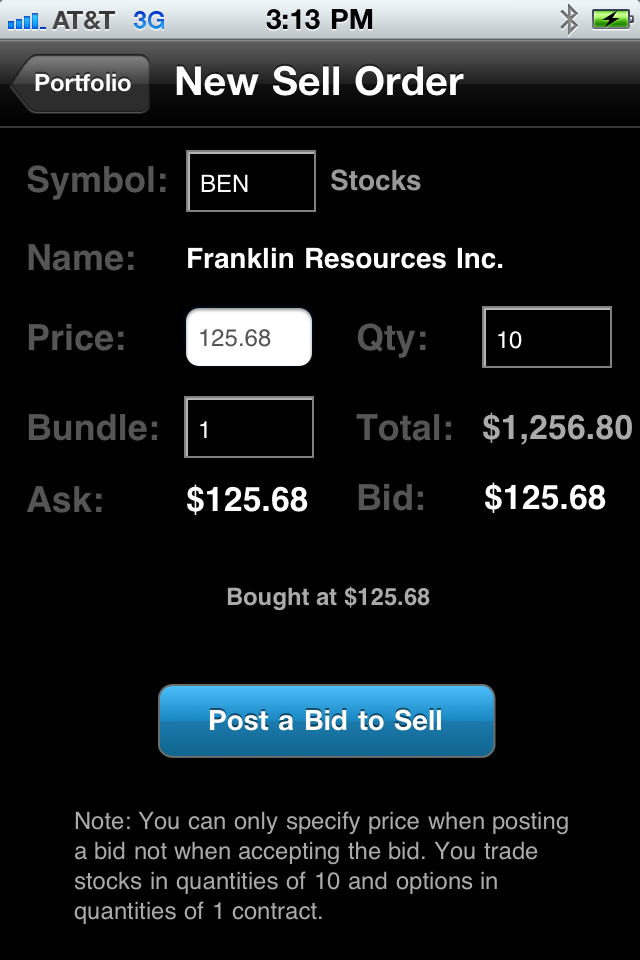
When you select “Sell” link, you would be taken to the order screen such as:
| iPad | iPhone |
|---|---|
|
|
You can specify your selling price and then select “Sell” button to submit the bid. It would take you to the Floor Bid, which lists all bids for buying and selling stocks/options.
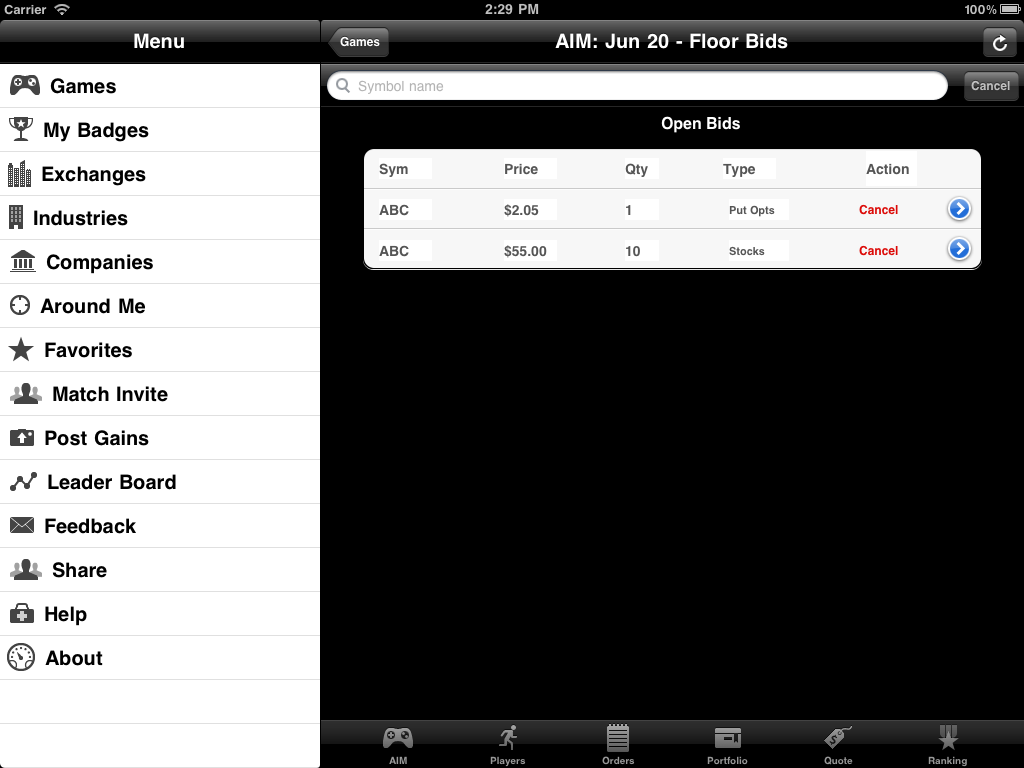
Floor Bids
The Floor Bids show all companies available for buy or sell. When you post bids to sell or buy, the go to the floor bids. You can accept the bids that other players have posted for stock/option sell or buy on the Floor Bids. Note that when you post bids you specify the price for the stock but when you accept bids you don’t negotiate. If you need to change the price for your bids, you can edit your open orders. Also, when you trade stocks or options, you are only trading to the people who are in the same exchange.
| iPad | iPhone |
|---|---|
|

|
When another user accepts your bid, the sale is completed and you would collect gain/loss from the trade.
Capital Gains
You can view your overall capital gains as result of trading or portfolio gain because the market price for your stocks went up from the player details, orders or portfolio screen. You can drill deep into your capital gain and find out how much profit/loss you made for each order by selecting Capital Gains option from the home screen or selecting Capital Gains row from the player details, orders or portfolio screen.
| iPad | iPhone |
|---|---|

|

|
Quote Lookup
You can lookup stock/option quotes as well as latest news for the companies from Quote-Lookup menu option. You can also buy or sell stocks from the Quote-Lookup screen based on your portfolio.
| iPad | iPhone |
|---|---|

|

|
In addition to buying and selling stocks/options, you can express how you feel about a company by liking/disliking/loving/hating. This in turn determines the buzz quote for that company. The more players like a company, the higher the buzz quote value that company would have. Unlike buying and trading stocks/options, which are limited to a single exchange (both public and private), the buzz quote is calculated across all exchanges. However, buzz quote is reset when the Trading Floor market is closed (11pm EST). Here is another benefit of Buzz Quote, the BOT player would buy stocks from you at the Buzz Quote price. So, if a stock becomes popular you can make more profit by selling it to the BOT.
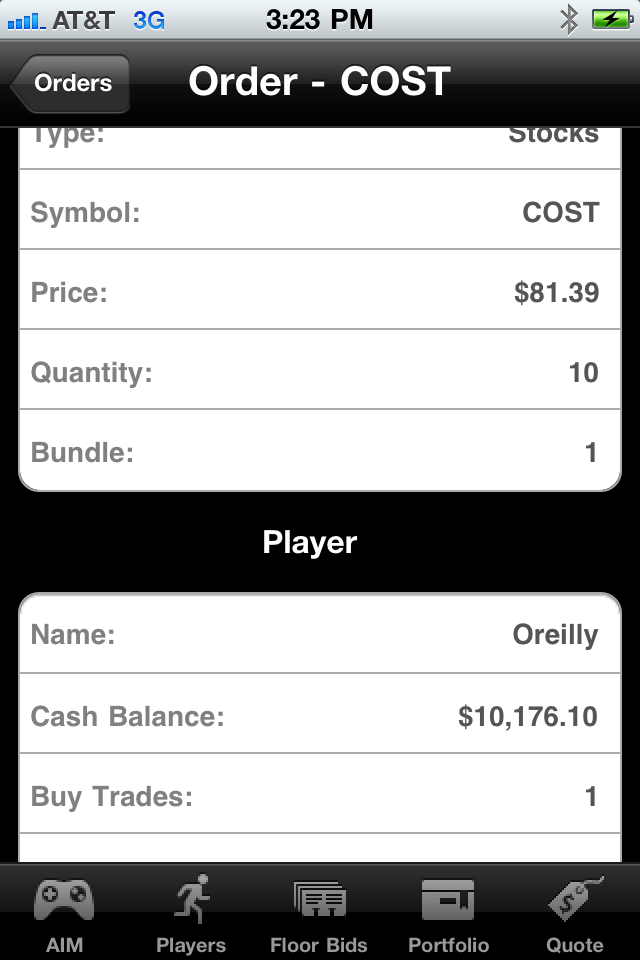
Orders history
You can view your past orders for selling or buying stocks/options by selecting “Orders” option, which would show something like:
| iPad | iPhone |
|---|---|

|

|
You can also drill into details for each order by selecting the row for the order such as:
| iPad | iPhone |
|---|---|

|
|
Player Rankings
You can view your the rankings of players for each game by selecting “Rankings” option which lists players sorted by the capital gains they earned, e.g.
| iPad | iPhone |
|---|---|

|

|
Comments
You can view comments on the game by selecting “Comments” option, e.g.

You can add your own comment by selecting “+” icon and typing your message, e.g.

My Badges
The top players for each game get badges at the end of the game, which are permanently visible under the “Badges” option, e.g.

When you select your badge, you will be taken to the old game that you played and can go back to your portfolio, orders and other details.
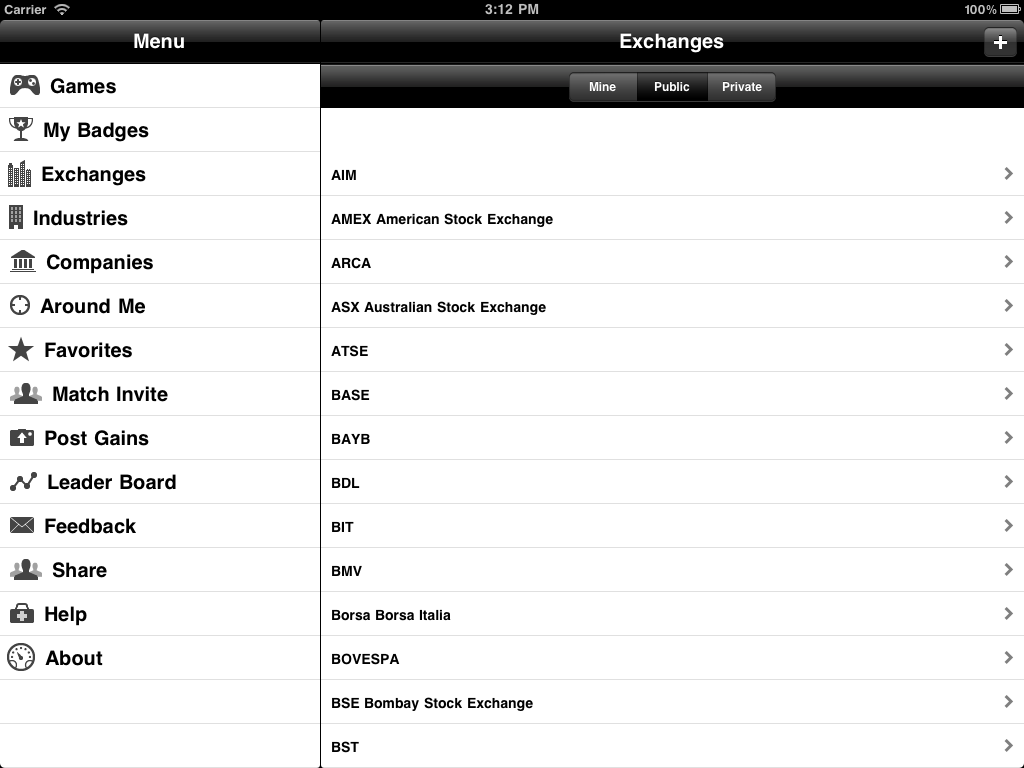
Exchanges
The exchanges are places where public companies are listed for trading. You can join exchanges created by your friends or build your exchanges. A unique game is started for each exchange, where member players trade against other member players. You can view both public and private exchanges by selecting “Exchanges” from main menu . You would see three types of exchanges: mine, public and private. Mine would list all exchanges that you have created, public would list all public exchanges and private would list top private exchanges. You can also search private exchanges.
| iPad | iPhone |
|---|---|
|

|
You can create your own exchange by selecting “+” icon and typing in the exchange symbol, name and password, e.g.
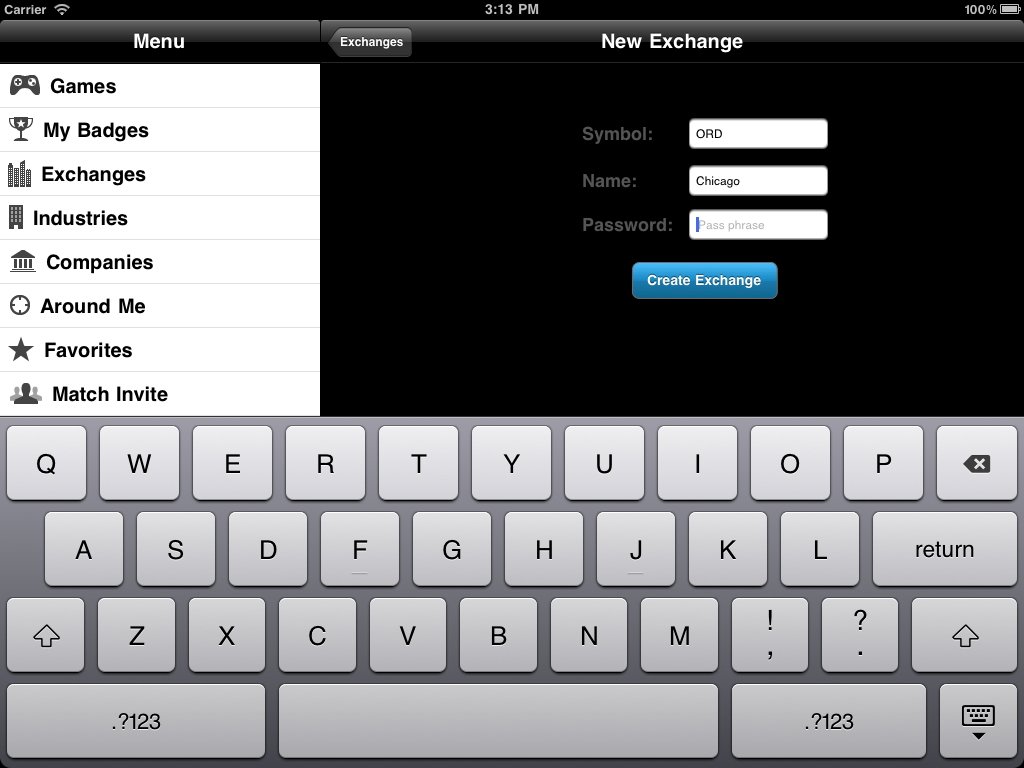
You can then let your friends know about the exchange symbol and password so that they can join them.
Industries
You can view top level industries by selecting “Industries” from the main menu, e.g.
| iPad | iPhone |
|---|---|
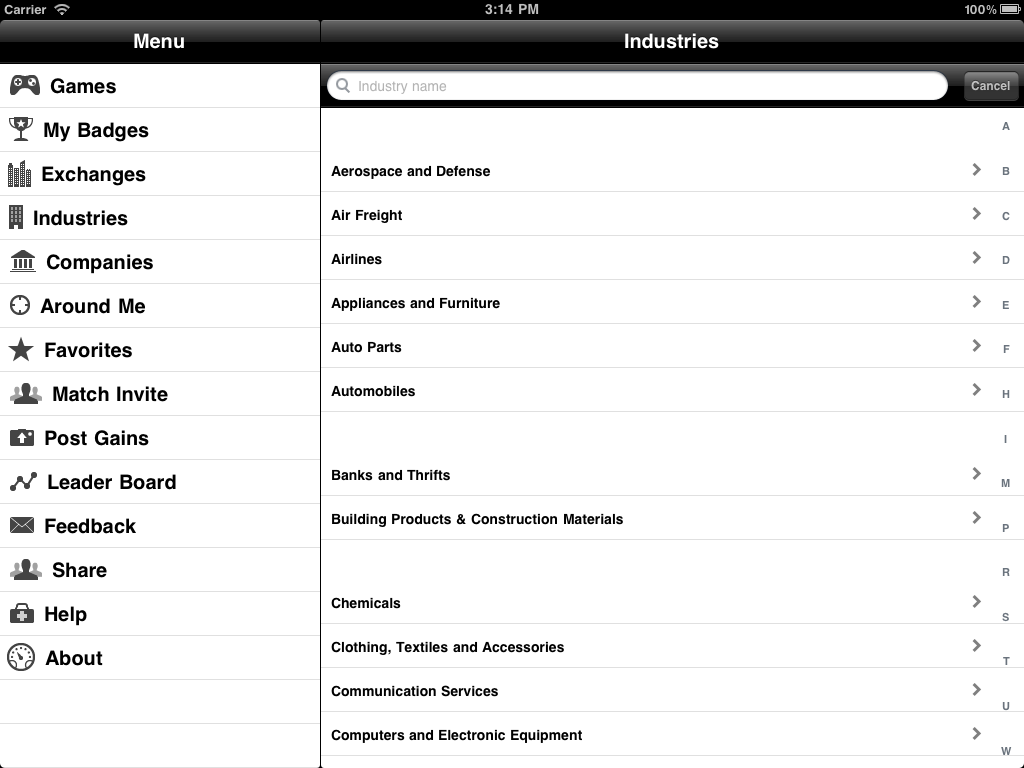
|

|
When you select an industry, it would list all companies that belong to that industry.
Companies
You can browse or search over 20,000 companies by selecting “Companies” option from the main menu, e.g.
| iPad | iPhone |
|---|---|

|

|
When you select a company, it would show latest quote, news and buzz quote for that company.
Companies Around Me
Trading Floor takes advantage of your geo-location capabilities and finds companies that are located near your location, e.g.

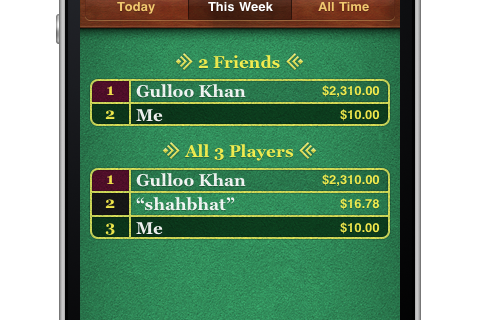
Leader Board
The leader board shows top players with most capital gains for all the games that they have played over last month. This option uses Game Center and requires login to the Game Center. You can post your scores to the leader board by selecting the \”Post Capital Gains\” option from the main menu. Also, you can send match invites to your friends at Game Center.
|

|

|
In the end, I hope you find Trading Floor, a fun game for your friends and family and you may learn a few things about the stock market as well. Enjoy!.